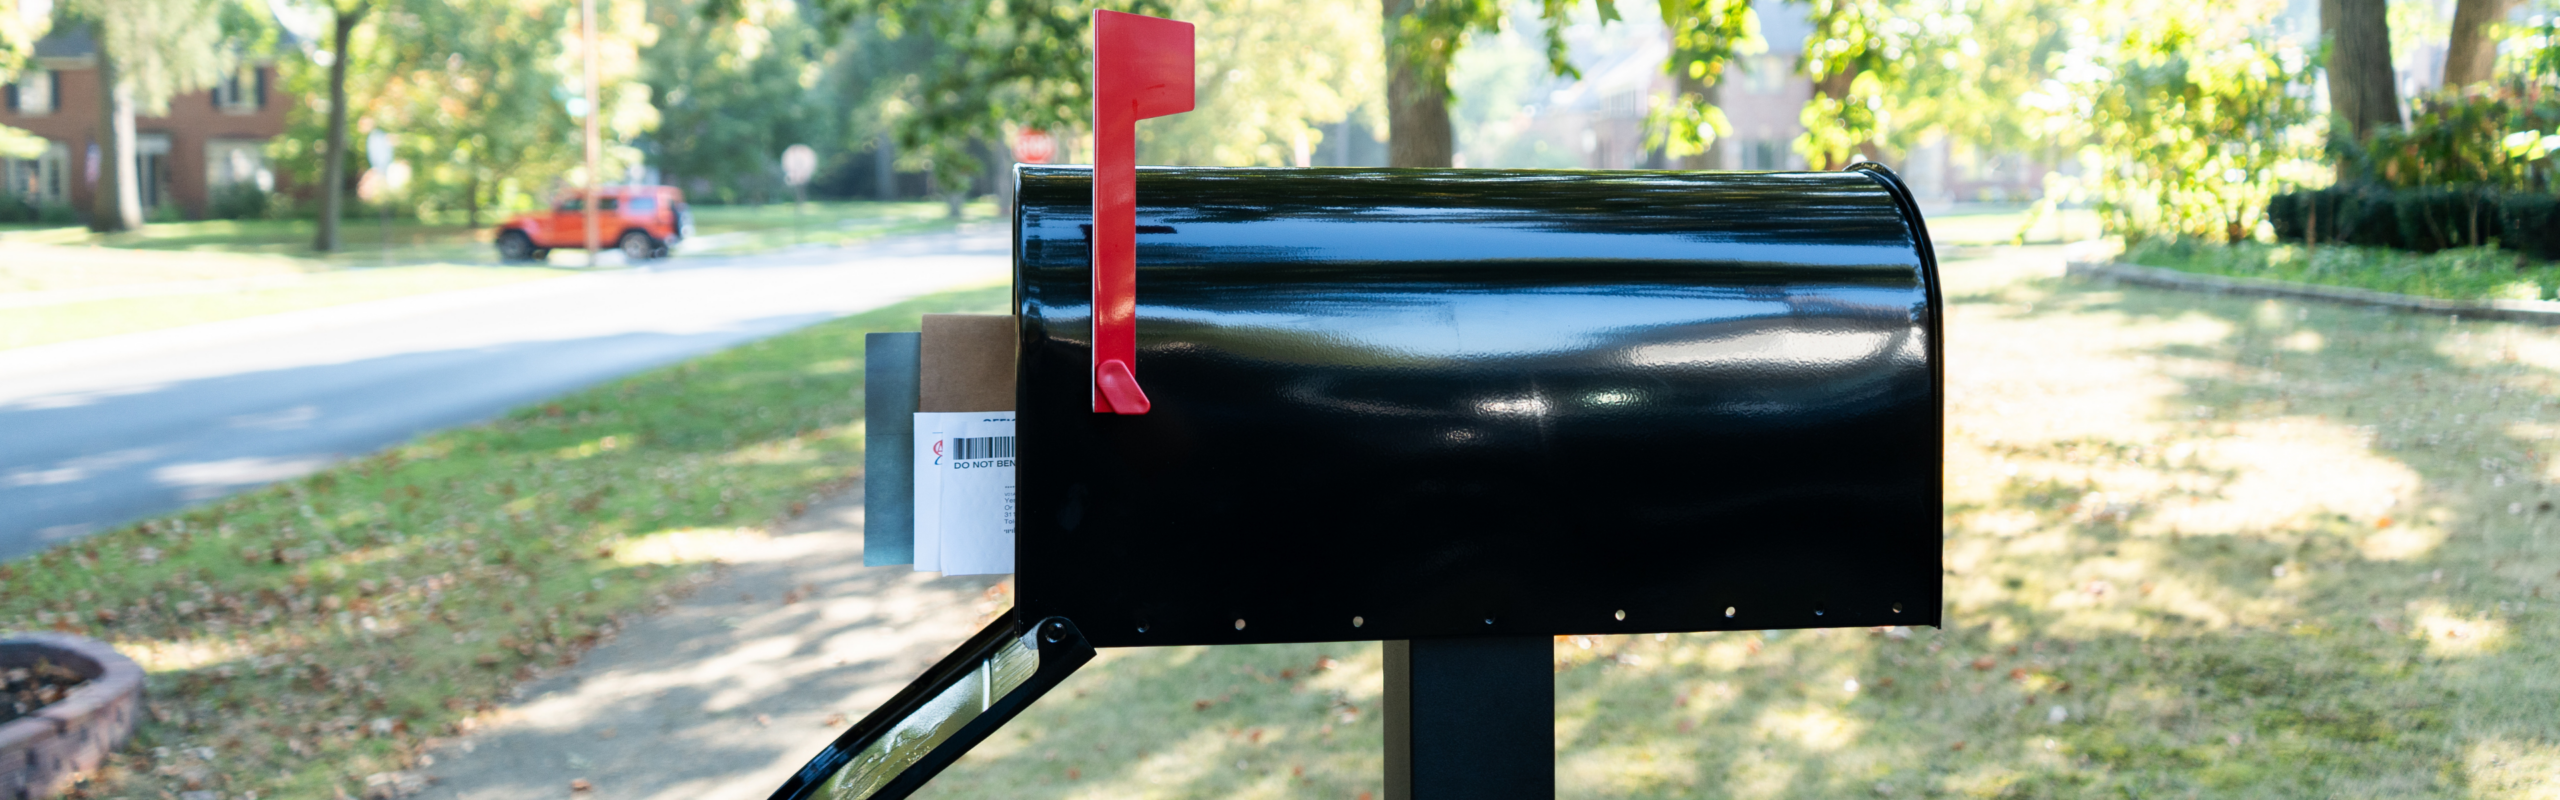
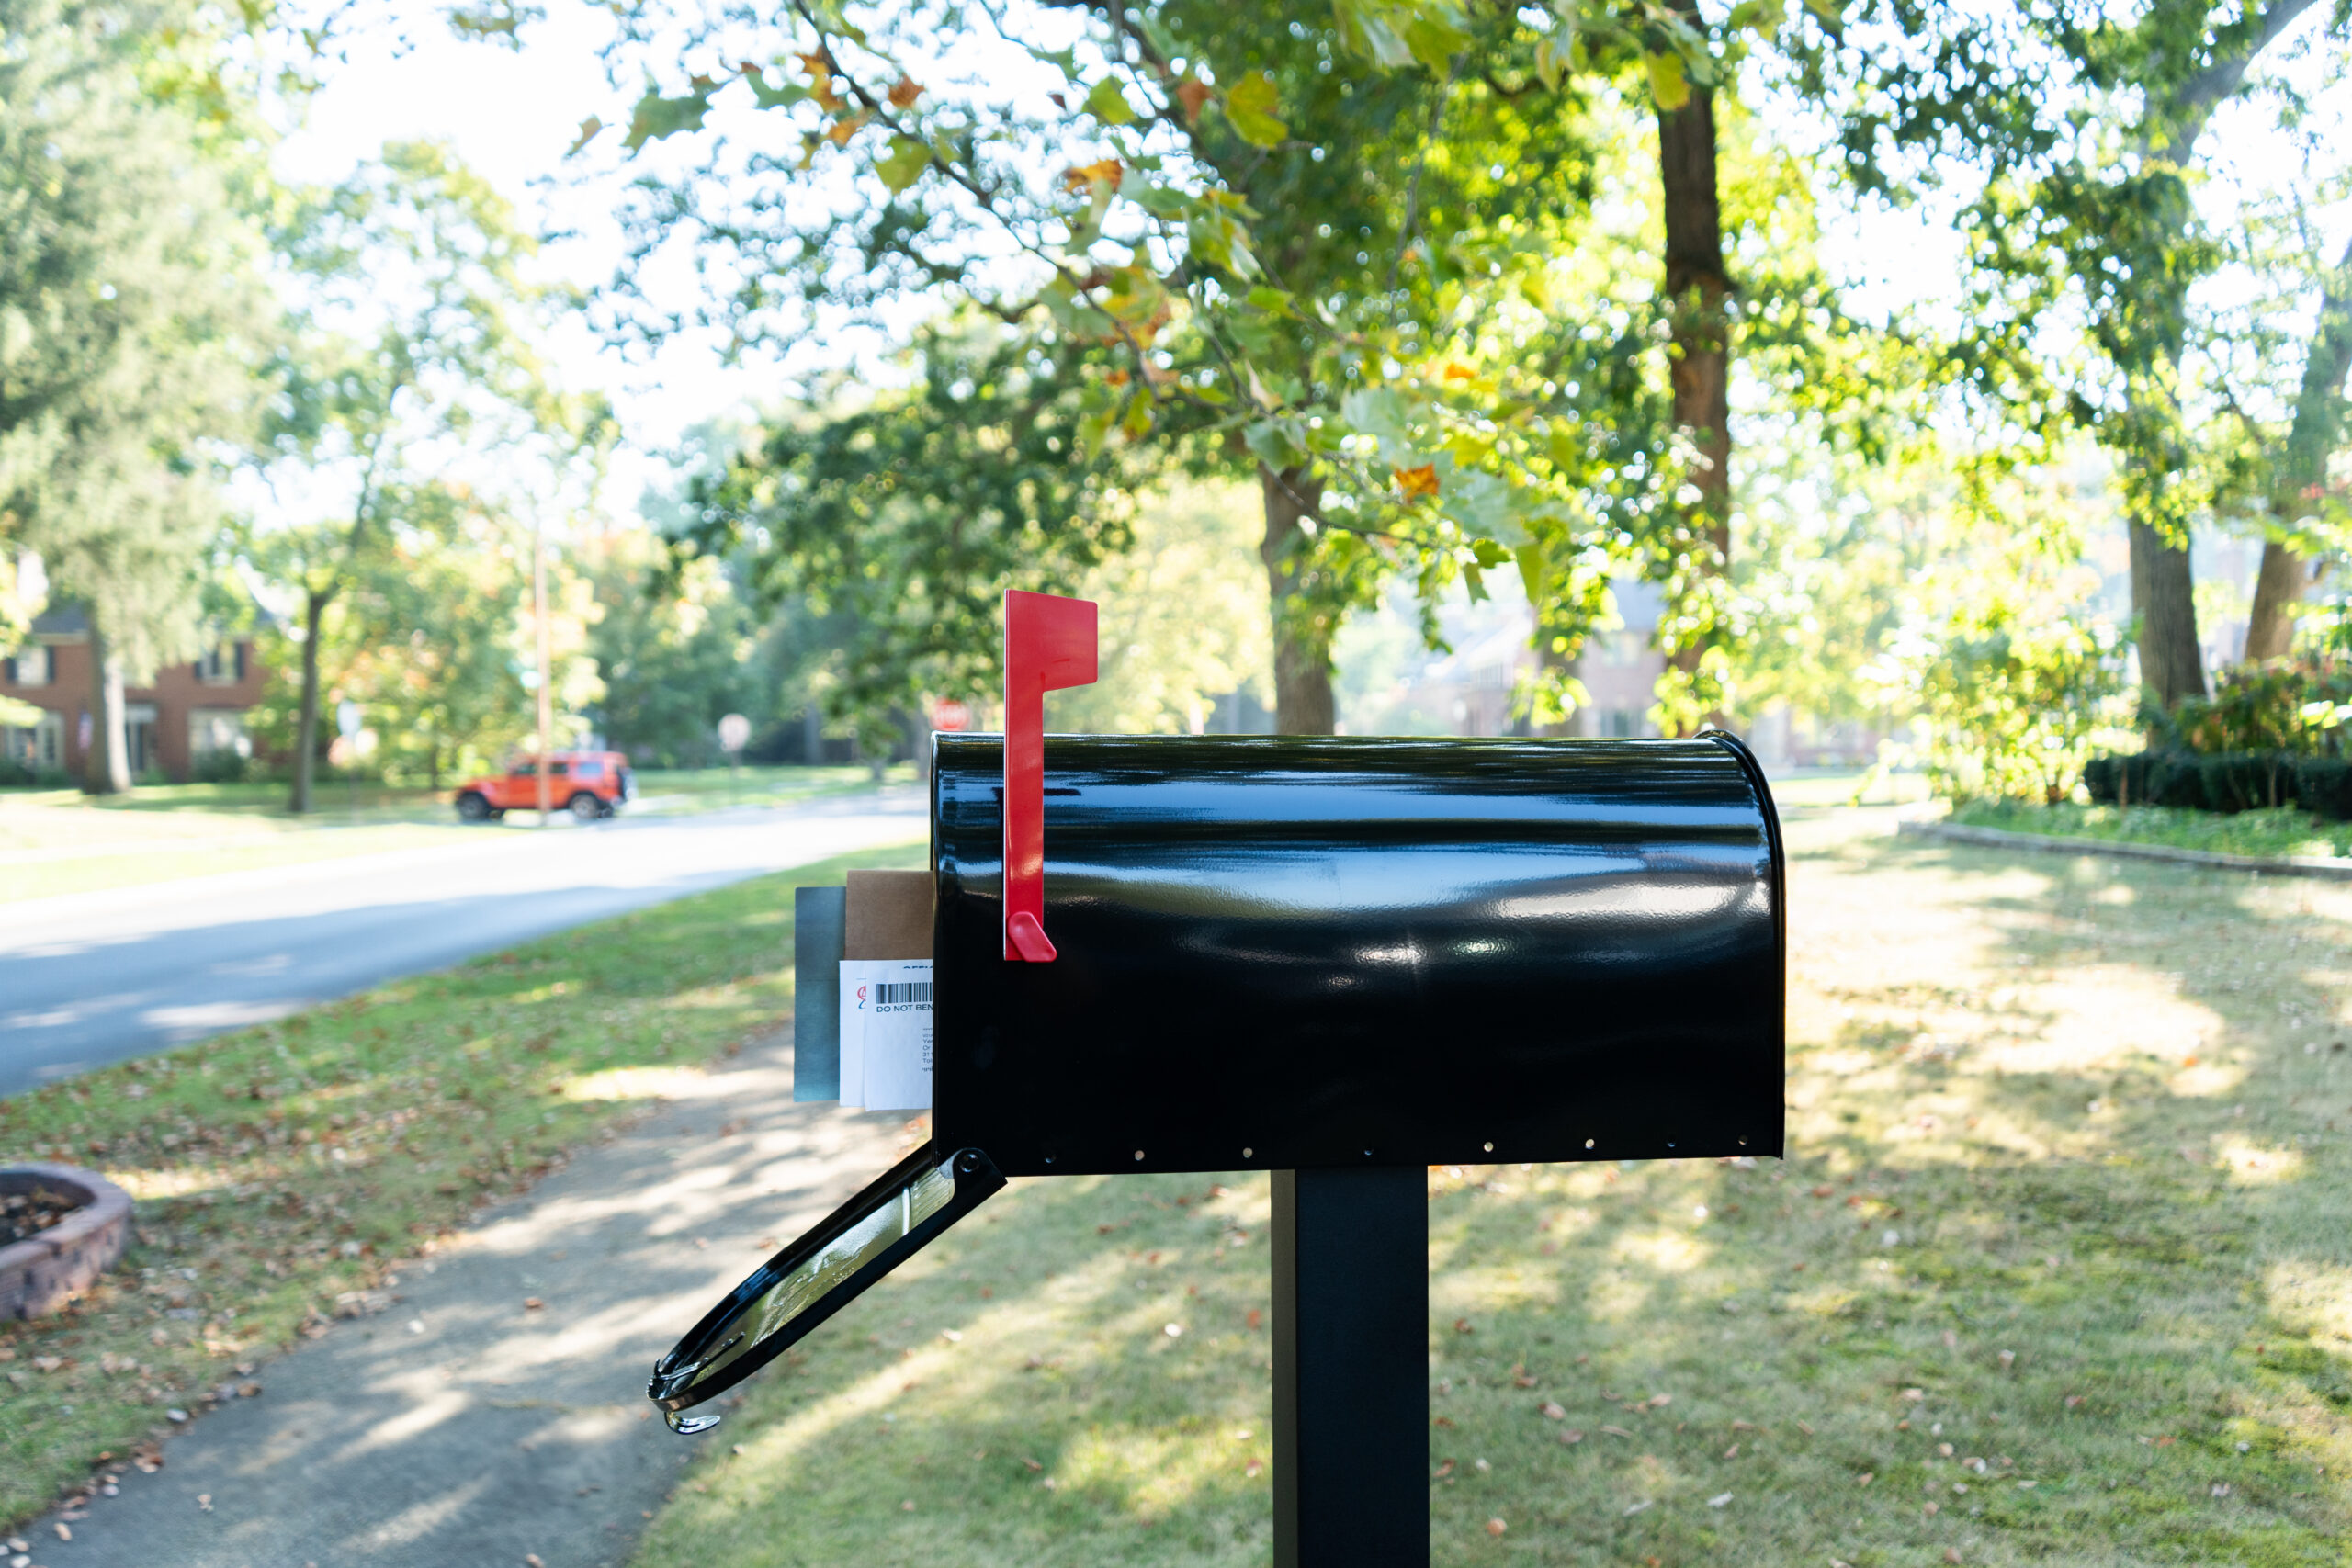
Kudos! You’ve purchased your Architectural Mailbox. Now comes the part no one romanticizes on social media: getting it in the ground, in the right spot, and at the right height. Because if you don’t get those right, even the shiniest, most indestructible mailbox may as well be a garden gnome if it’s slouched by the curb, hiding from the mailman, or tilting into traffic like it’s accepted a dare.
Here’s what you need to know. Your new Architectural Mailboxes mailbox is United States Postal Service (USPS)-approved, which means you’re already ahead of the game.
But proper mailbox installation requires a few key things to get it right: correct mailbox post height, curbside placement distance from the road, and a setup your mail carrier can actually reach from their vehicle. This guide covers all of it, so you can get your mailbox installed correctly the first time and trust it to do its job for years to come.
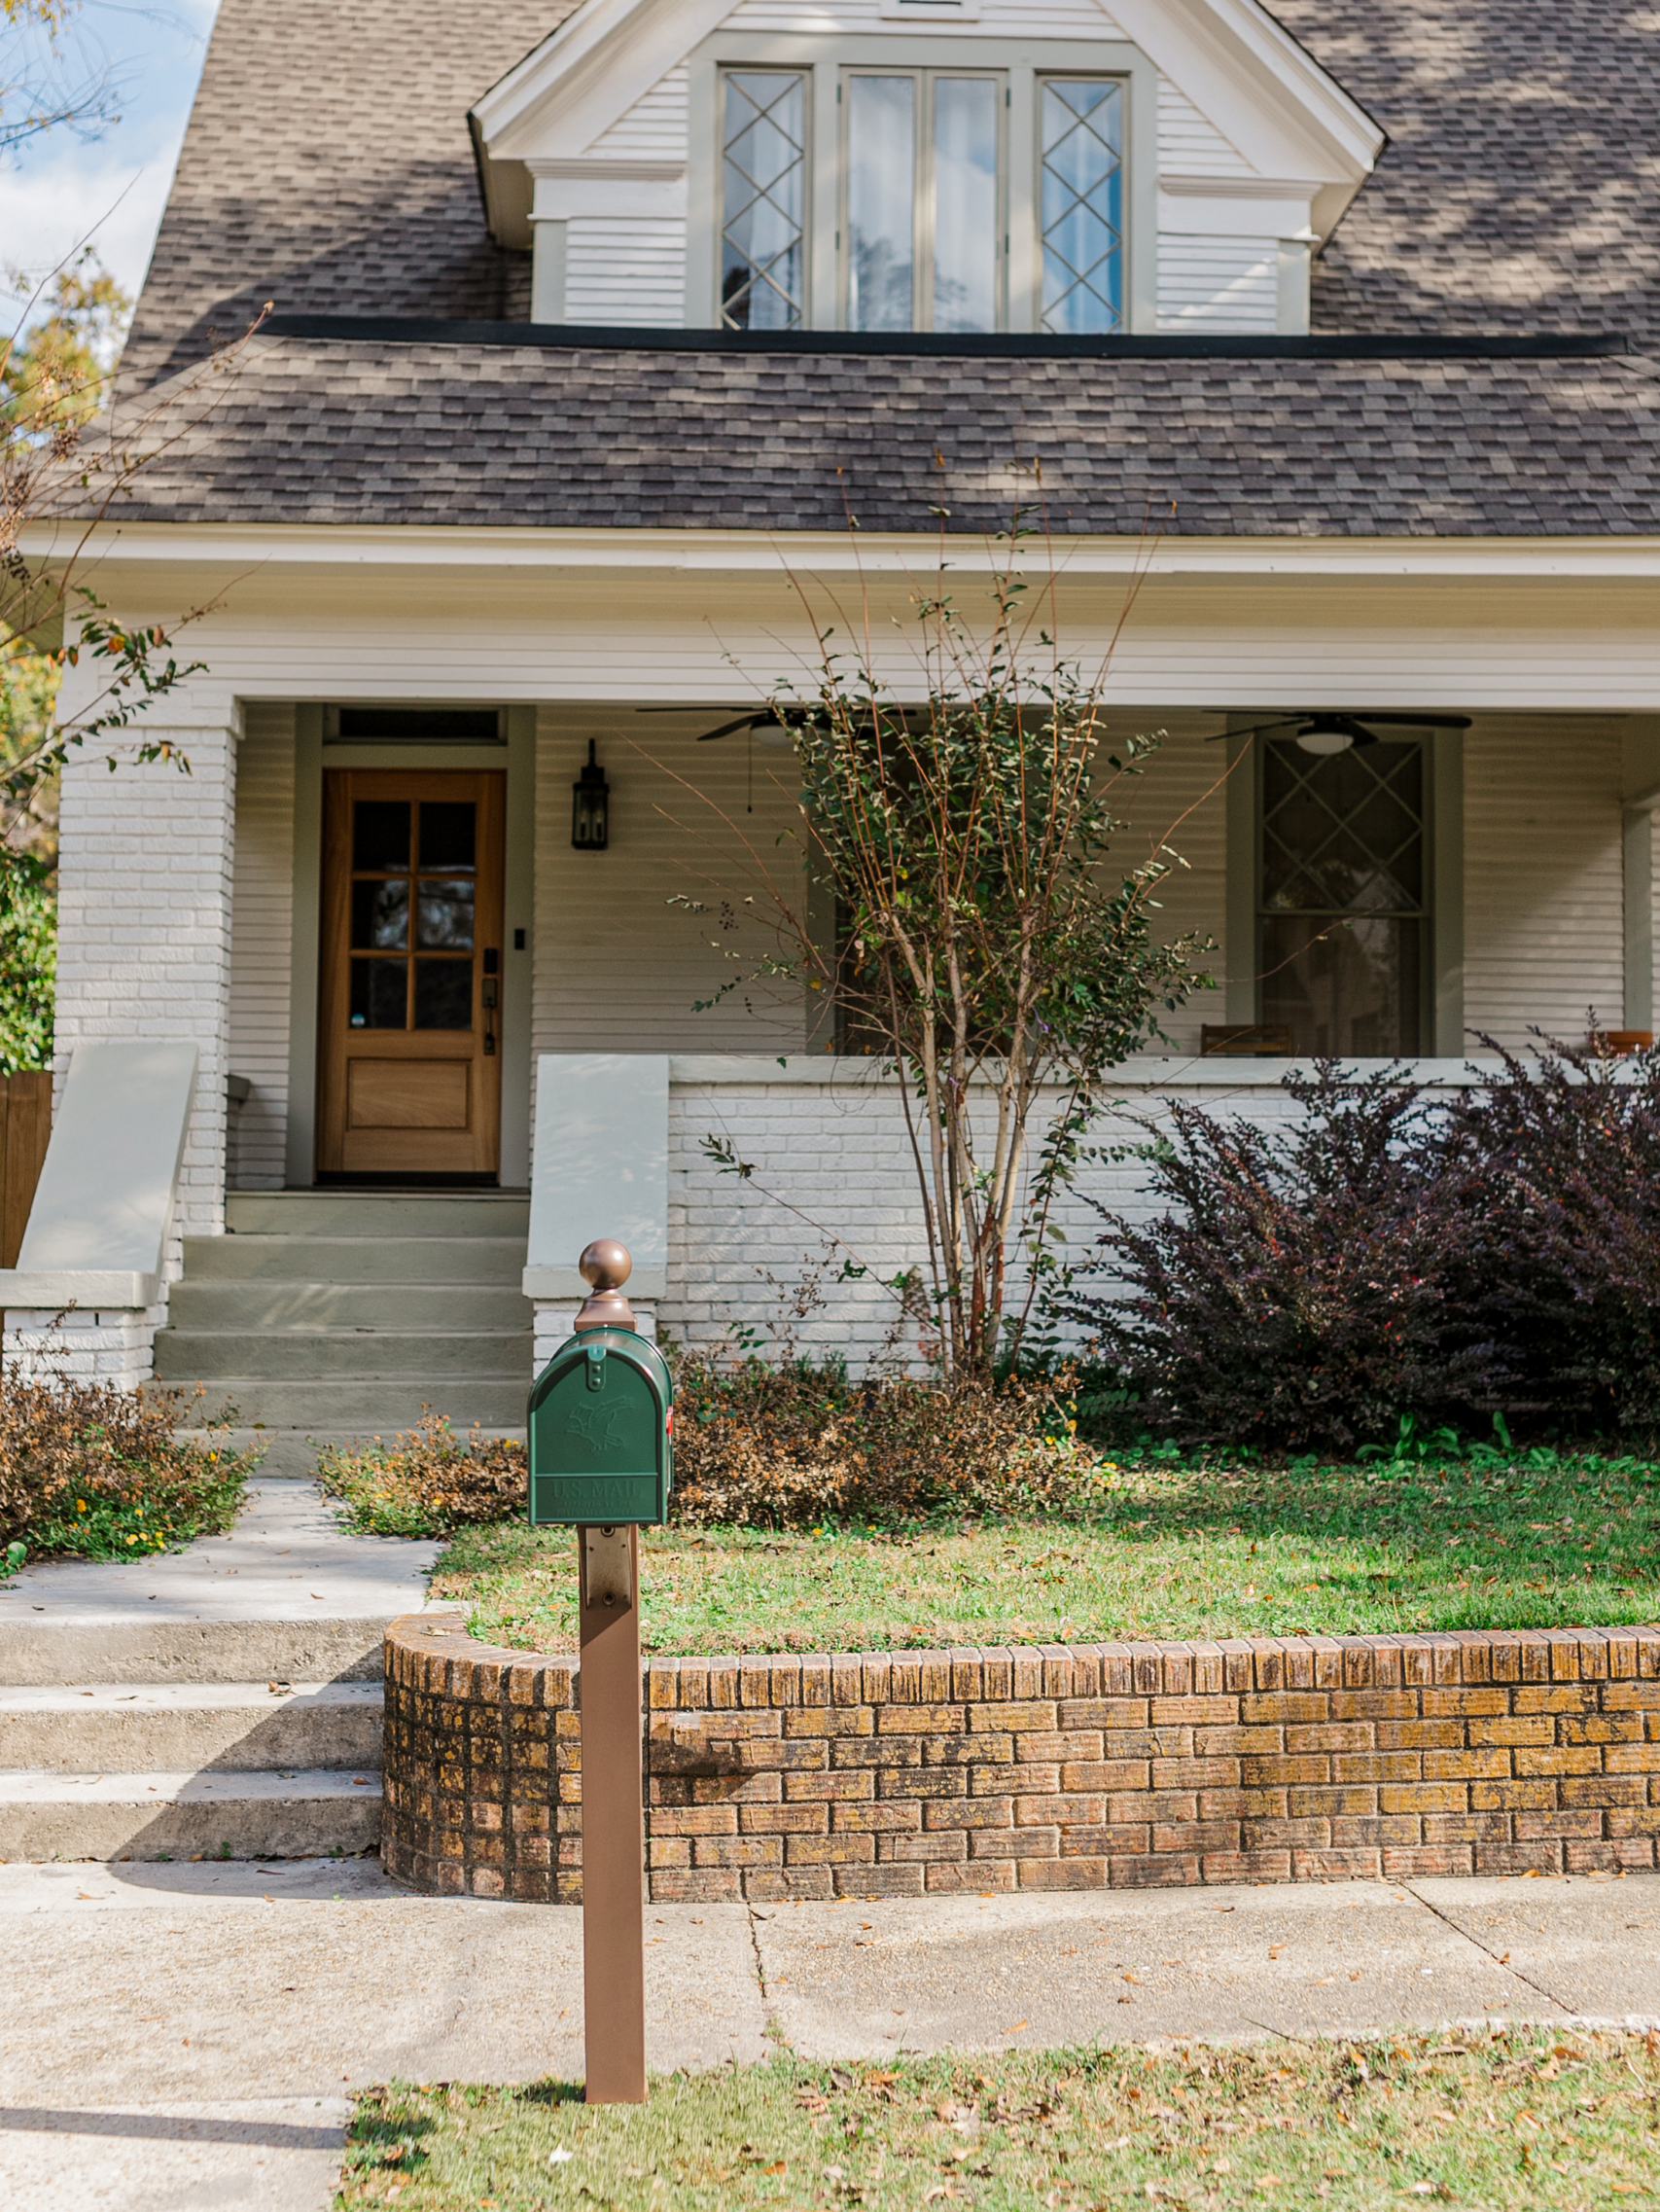
Mailbox Height: Yes, It Actually Matters
Let’s start with the big one: mailbox installation height, according to current USPS guidelines.
For curbside mailboxes:
- The bottom of the mailbox should be 41–45 inches from the road surface.
- The mailbox door should be 6 to 8 inches from the curb or edge of the road.
Why so specific? Remember, your mail carrier delivers from a vehicle.
Too high or too low, and it becomes an ergonomic obstacle course. Too far back, and your carrier is doing a shoulder stretch that you know the USPS couldn’t plausibly include in their job description.
A properly installed USPS-approved mailbox ensures seamless delivery, protects your carrier, and keeps your mail moving without interruption. Just know that if you’re out of bounds by 2–3 inches in any direction, you may be asked to correct it. In short, beautiful design is important, but functional design is non-negotiable.
Mailbox Placement Rules: Curbside vs. Wall-Mount
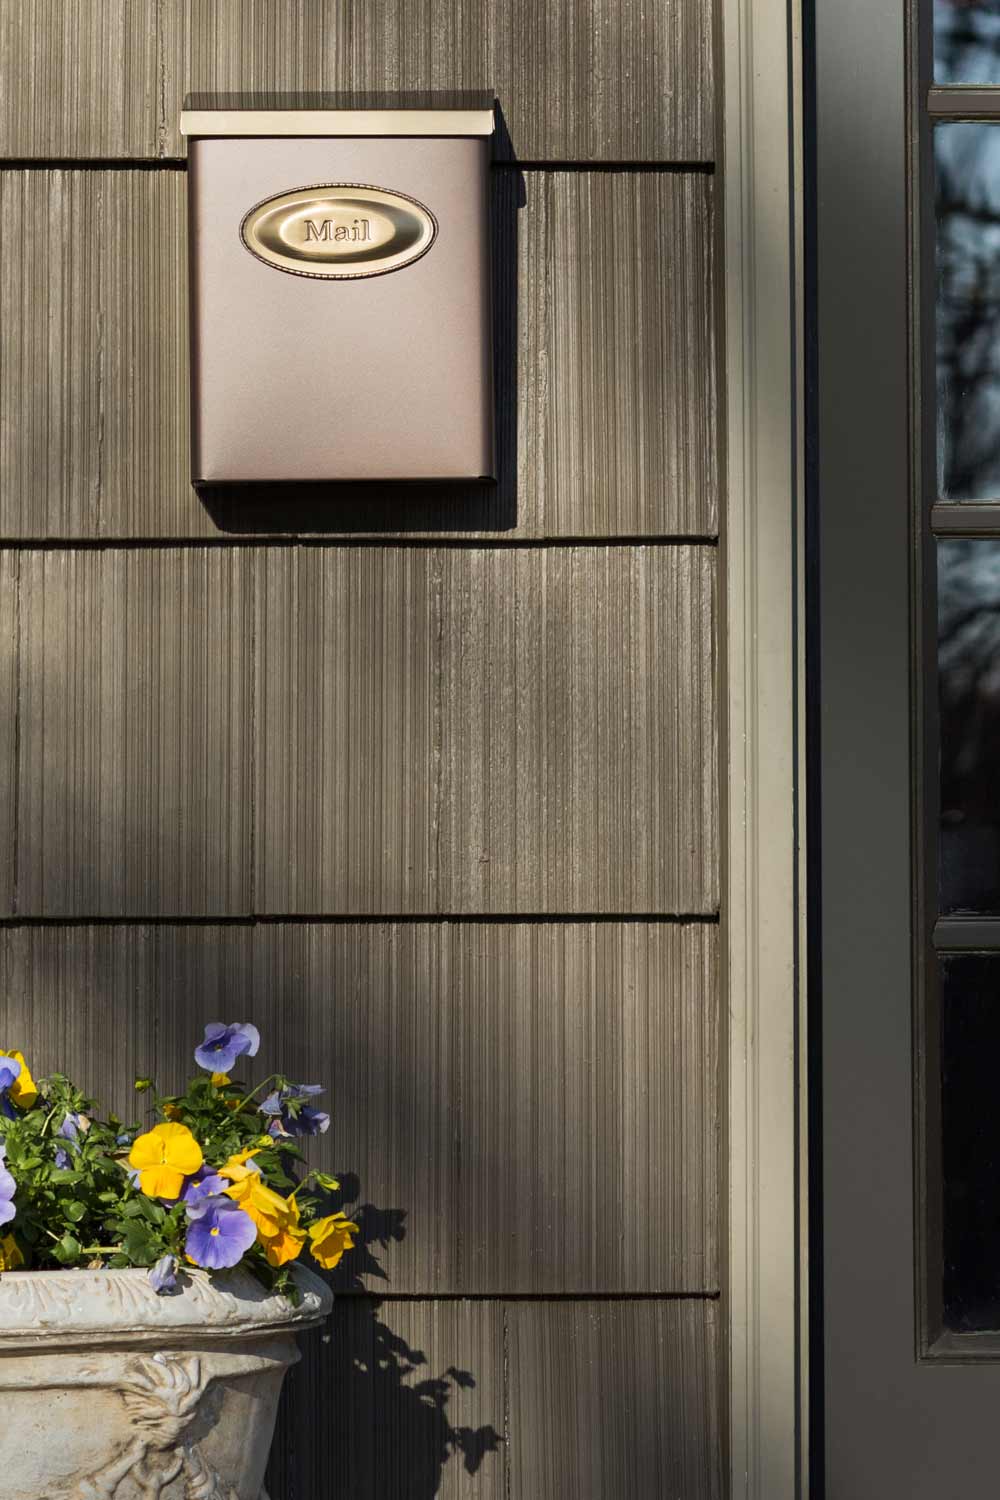
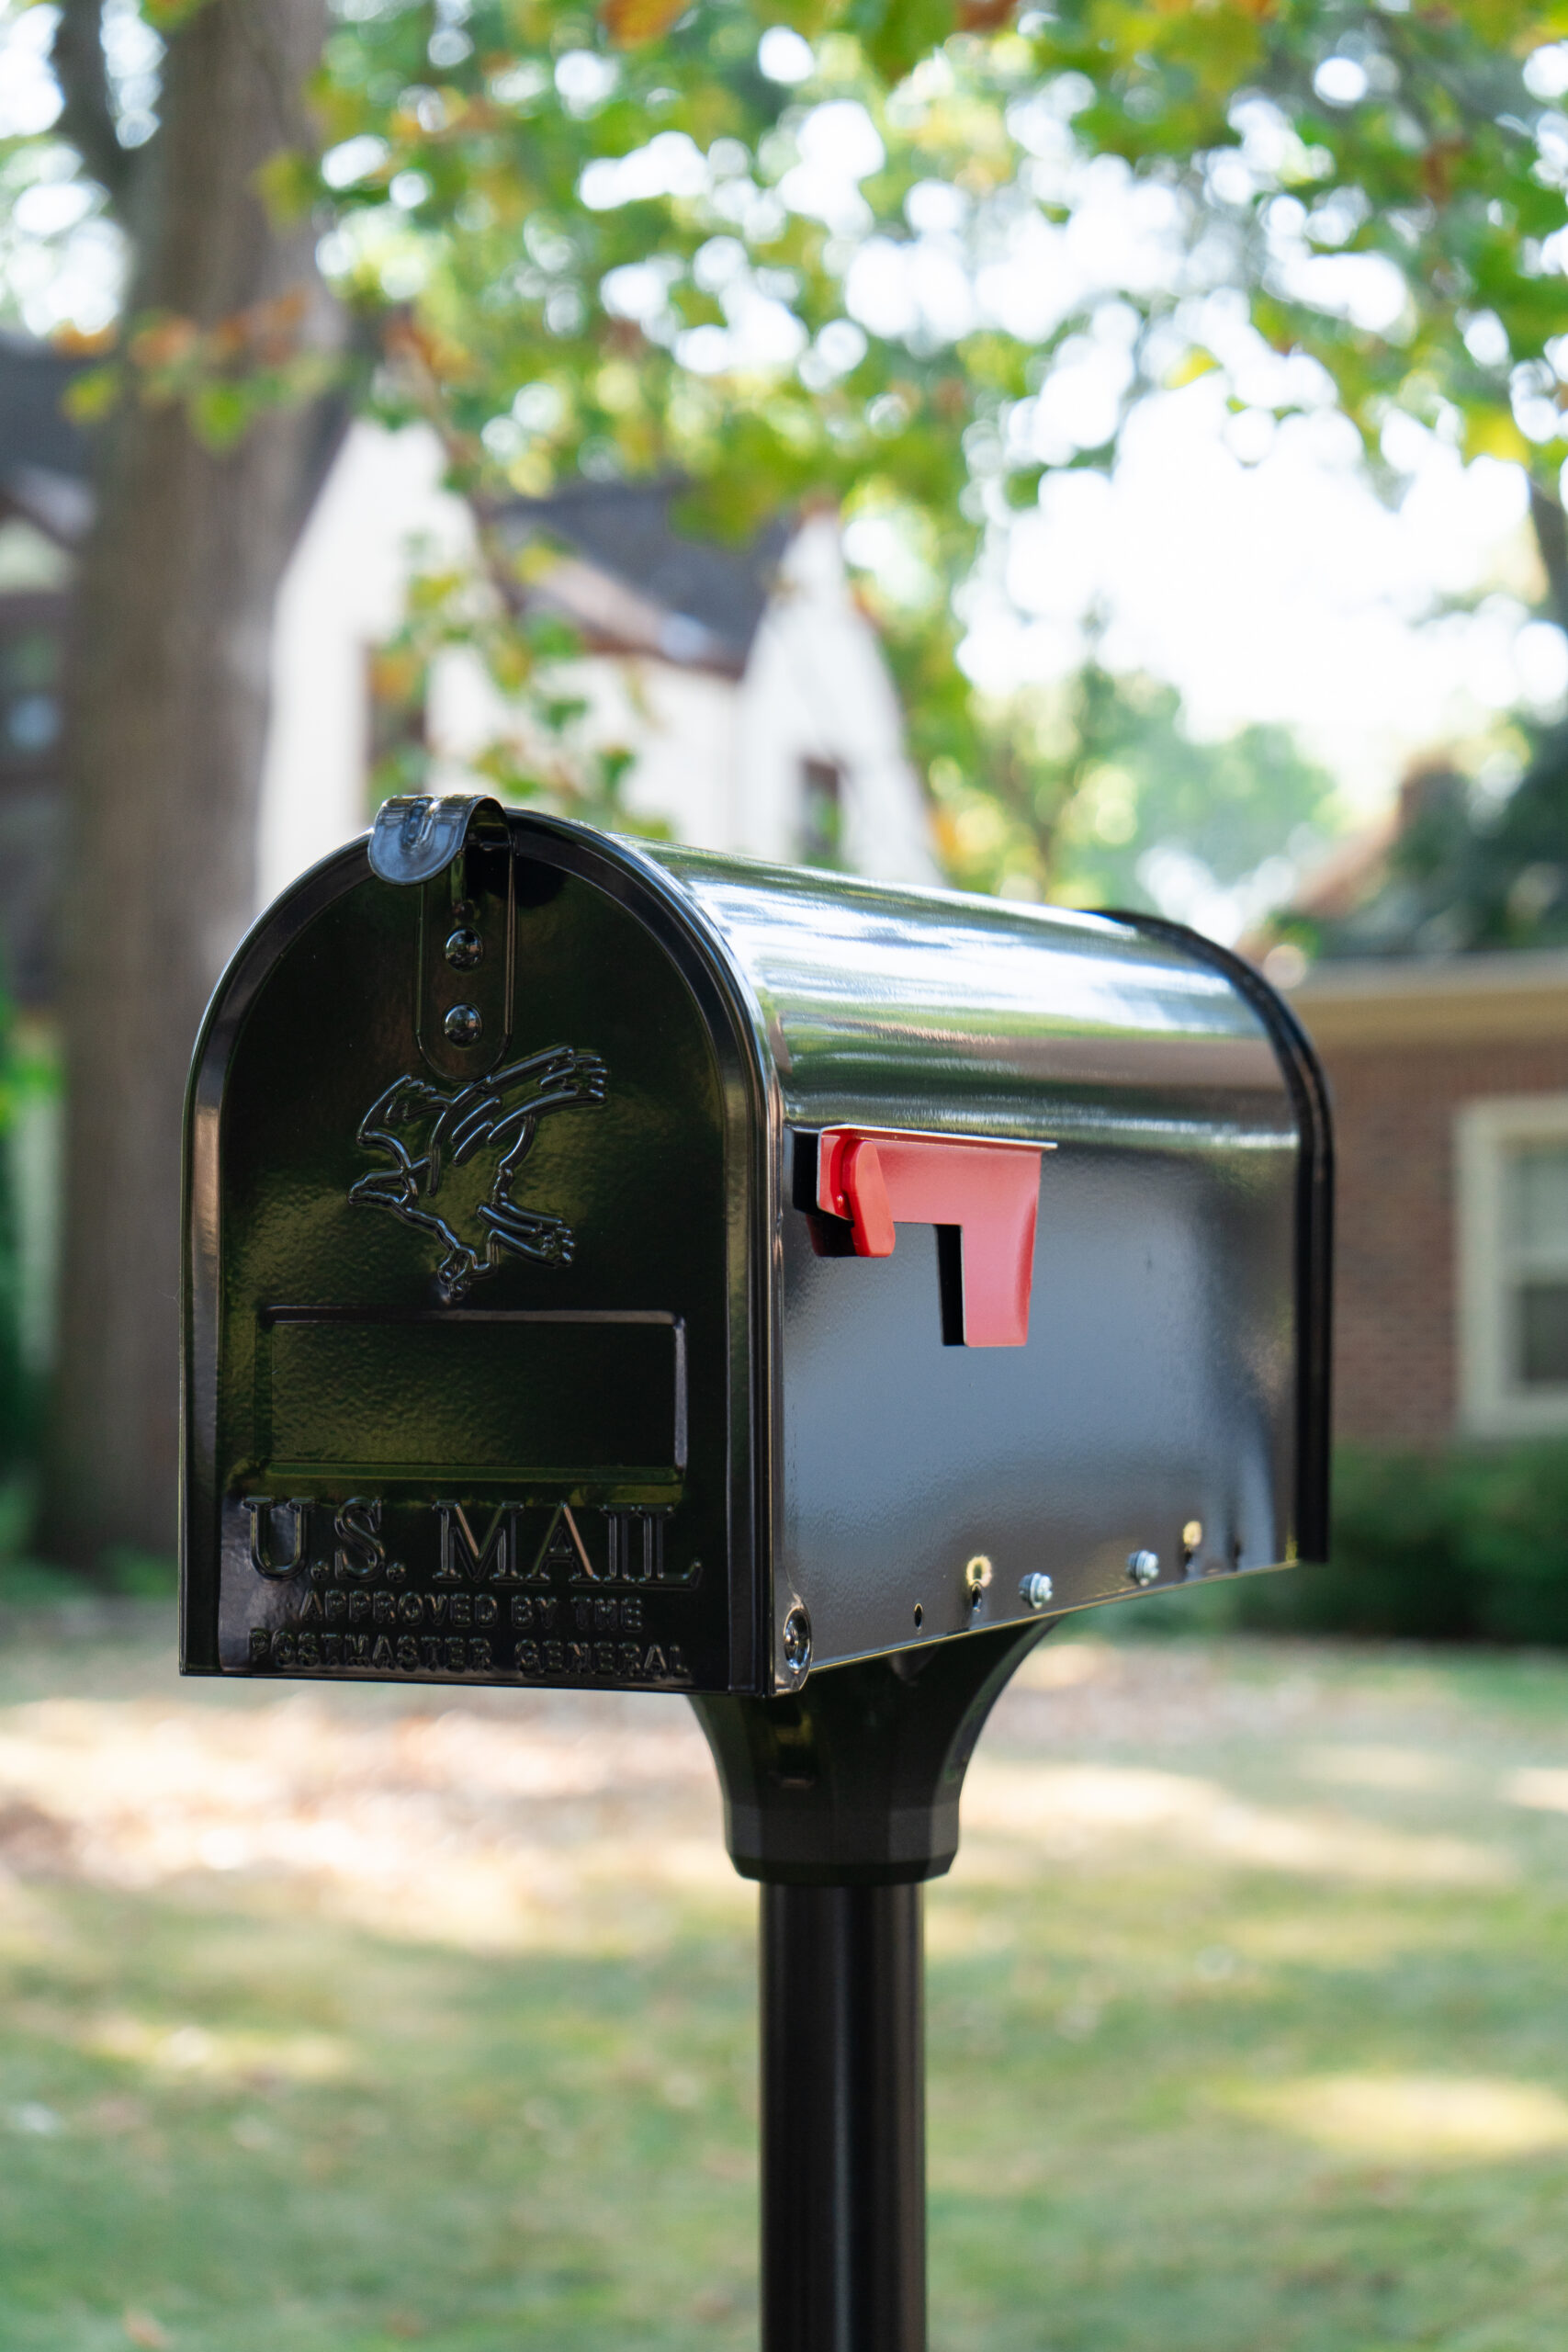
Not every mailbox gets curbside glory. If you’ve gone for a wall-mount mailbox, bonus points if it locks, the rules do a little shuffle.
If your Architectural Mailbox sits at the curb or edge of the street:
- Position the box on the right-hand side of the road in the direction of travel.
- Align with neighboring mailboxes when possible.
- Avoid obstructions such as landscaping boulders, oversized planters, or decorative fencing that require carriers to dismount.
If you are a wall-mounted Architectural Mailbox owner:
- Install in a location easily accessible to your carrier.
- Mount at a comfortable reach height, generally similar to curbside height when measured from a standing position.
- Ensure house numbers are clearly visible.
If you’re also investing in curb appeal upgrades or exploring mailbox landscaping ideas, always remember to plan and execute with intention. A thoughtfully styled front yard should frame your mailbox, not swallow it. The sweet spot is where good looks meet real-life usefulness. It’s art class and shop class meeting together right at your curb.
What “USPS-Approved Mailbox” Actually Means
Let’s eliminate any room for doubt or confusion. There is a difference between “meets USPS standards” and “USPS-approved mailbox.”
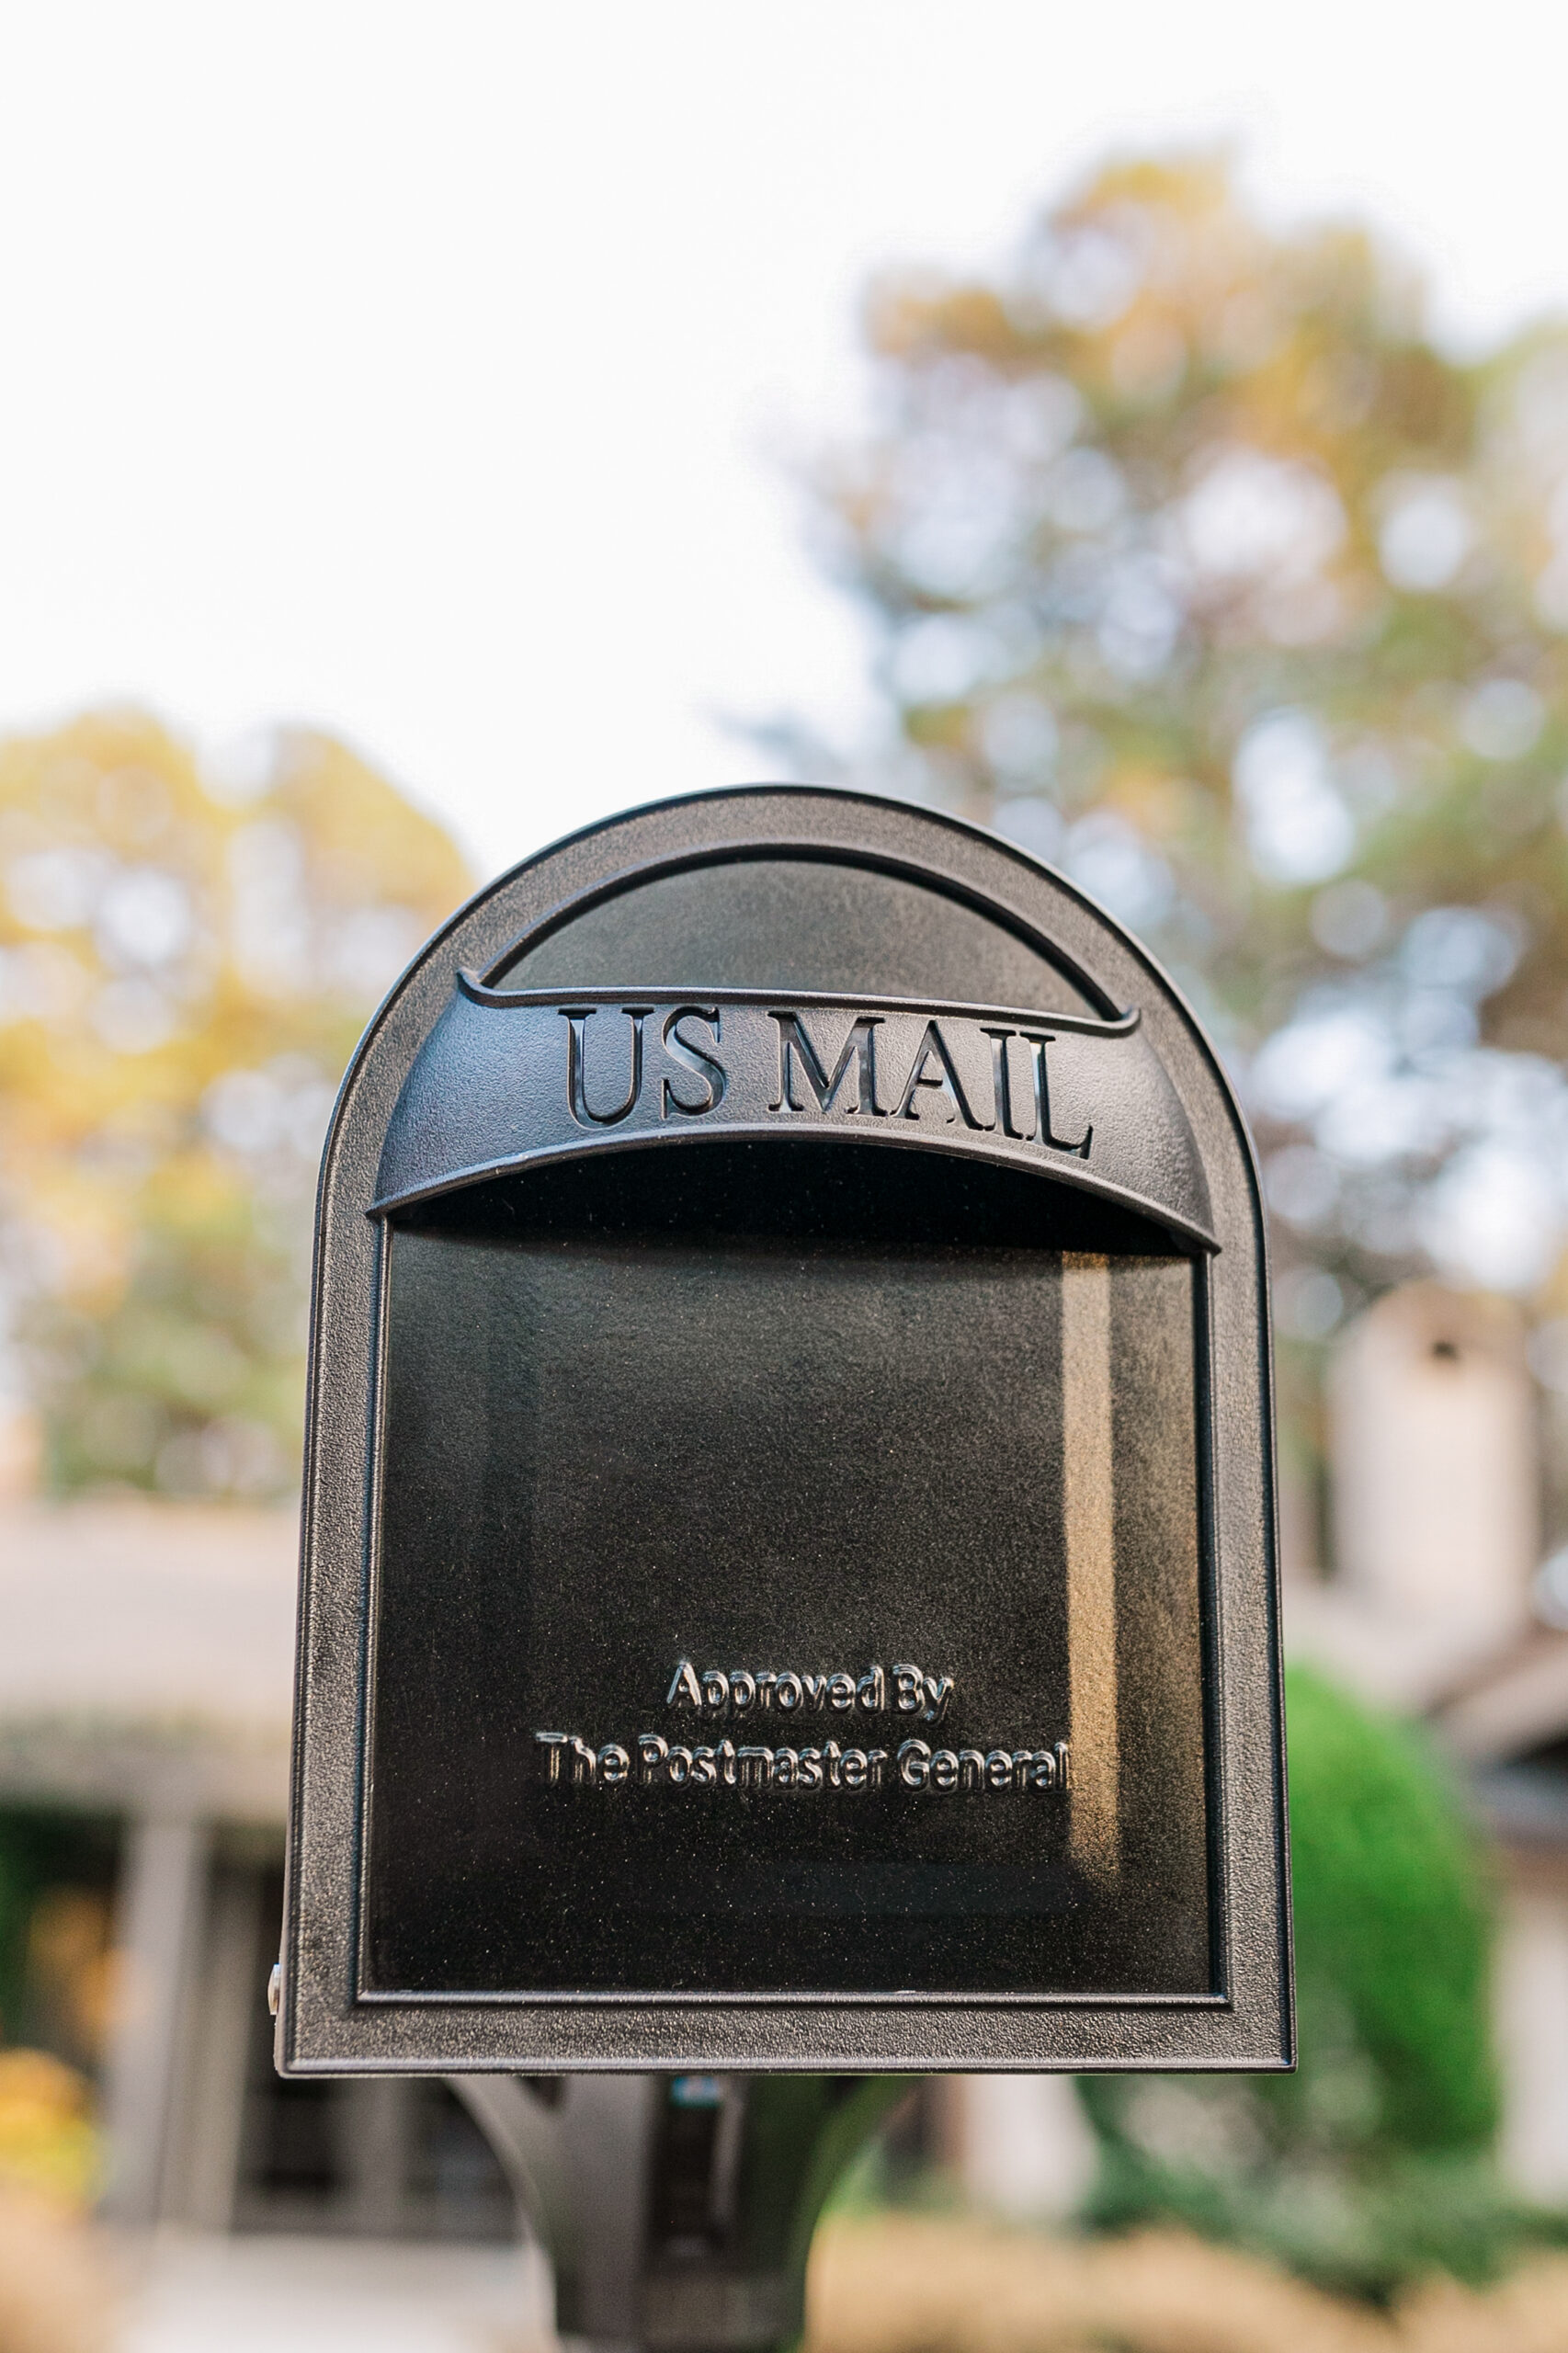
A “USPS-approved” mailbox has been officially tested and accepted by the Postal Service for durability, safety, and dimensional compliance. That approval isn’t a marketing phrase. It’s a certification, i.e., it’s bona fide. While some competitors venture into language that’s fuzzy or vague, Architectural Mailboxes products are properly identified, checked, double-checked, and stamped.
That matters because when you choose a USPS-approved mailbox, you’re choosing:
- Correct sizing and capacity
- Approved door operation and flag placement
- Structural integrity that passed official review
Bottom line: you’ve left nothing to second-guess.
Installation Done the Right Way
If you’re Googling how to install a mailbox, here’s the straightforward version:
- Make sure your mailbox post installation is done right. This means digging a hole roughly 24 inches deep. We recommend digging below the frost line for those of you north of the Mason-Dixon.
- Ensure the box is at the proper height before securing it. That’s done by measuring from the road surface, not your lawn.
- Mount securely and level. A crooked mailbox isn’t charming, it’s confusing. Using fast-setting concrete helps.
- Double-check placement distance from the curb. Six to eight inches is your sweet spot.
If you’ve opted for a post kit or combo system, kudos, your installation just got streamlined. Precision engineering and parts are guaranteed to make your Saturday in the sun much easier. And if your new mailbox is sized for packages, make sure your post and footing are sturdy enough to support the added size and weight.
The Quiet Authority of Getting It Right
We can all agree that buying a mailbox is almost always a reactive purchase. Bent door. Rusted hinge. Post leaning like it’s had a long week.
But installation? That’s intentional 100% of the time.
Correct height. Proper placement. Certified approval.
It protects delivery consistency. It protects your investment. And frankly, it protects your reputation with the person who brings you everything from birthday cards to tax documents.
Architectural Mailboxes has spent decades earning trust by combining craftsmanship with compliance. Not flashy. Not fussy. Built right, and built to last. Because we know that something sitting at the edge of your property for the next 15 years should look good, but it has to follow the rules, too.
Where to Buy
Our Retail Partners
Our products can be found at these participating major retailers nationwide and online. Contact your local store directly for inventory availability.